


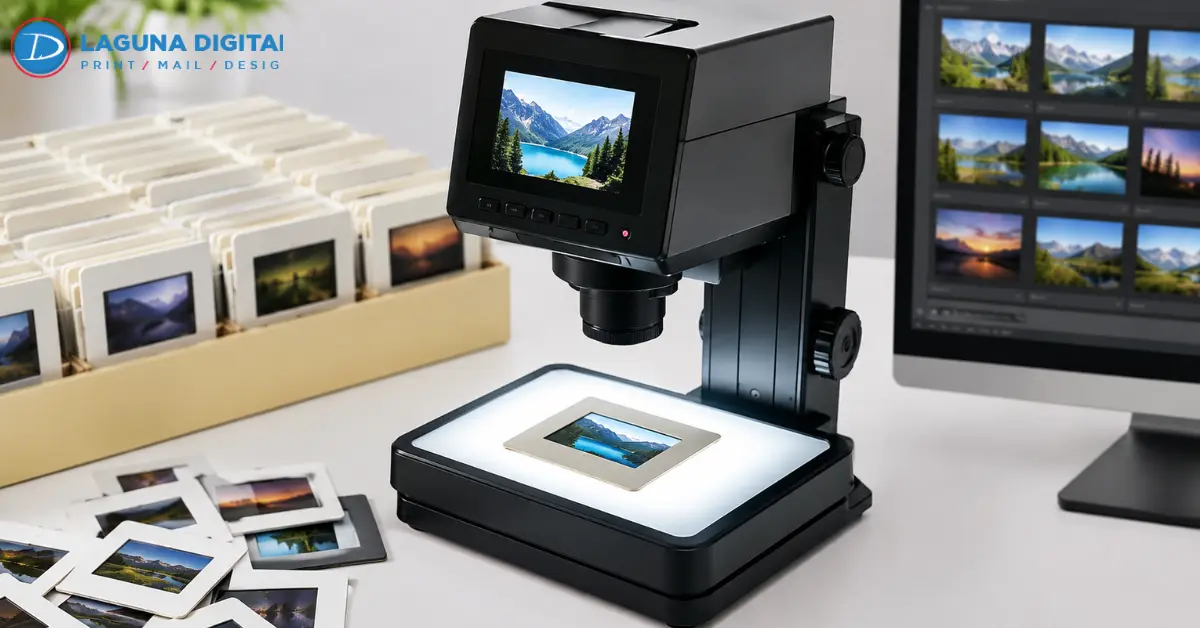
Sharp slide scanning is not created by choosing the highest resolution number in a scanner menu. A useful scan must preserve the detail already present in the film, stay in focus across the frame, protect highlight and shadow information, and leave enough data for later editing or printing.
For a 35mm collection, test a detailed outdoor scene, a portrait, a dark exposure, and a faded slide. Review them at 100 percent before setting the full batch. For fragile originals, a professional scanning service can reduce repeated handling and unnecessary rescans.
Inspect the Original Before Adjusting the Scanner
Dust that looks tiny on a mounted slide becomes obvious after enlargement. Hold slides by the edges and inspect them under neutral light before photo digitization begins.
The National Archives recommends a clean, soft brush or hand-operated puff blower for loose dust. It advises against canned air and cautions against water-based or chemical cleaning without specialist guidance.
Separate cracked, moldy, warped, or glass-mounted slides. Routine image scanning may not suit damaged material. Keep negatives separate because film digitization can require different holders and exposure settings.
Choose Resolution by the Detail You Can See

For slide scanning, true optical resolution matters more than an advertised maximum. PPI describes how densely the film is sampled. DPI more properly refers to printer output, although scanner interfaces often use the terms interchangeably.
A 35mm image area is about 36 by 24 mm. At 4,000 ppi, it produces roughly 5,669 by 3,780 pixels before cropping, about 21.4 megapixels. A larger file still does not prove more detail was captured.
The Library of Congress offers a useful benchmark. In a project involving 45,000 35mm frames, it used 2,800 pixels per inch, 14-bit tonal capture available as 16-bit output, and TIFF files. Its scanning system was tested for measurable resolution and retested daily.
To judge high resolution scanning, scan the same detailed frame at 3,200 and 4,000 ppi. Compare eyelashes, lettering, fabric weave, roof lines, or grain. If both files reveal the same information, the larger file is mostly adding storage.
The article on balancing film-scan file size and image quality explains why capture quality and delivery file size should be separate decisions. Useful image resolution comes from resolved information, not interpolation.
Check Focus at the Center and Corners
Focus errors can hide in a thumbnail. During slide scanning, inspect a detailed frame at 100 percent, including the center and all four corners.
Older cardboard mounts may bow. If the film sits outside the scanner’s focus plane, more pixels will not fix the softness. Test the holder position or focus before processing hundreds of frames.
Do not use heavy sharpening to disguise missed focus. Sharpening increases edge contrast but cannot recover information that was never captured. High resolution images still need genuine optical detail underneath.
This is also a useful test when comparing film scanning services. A scanning company should be willing to show a sample at full size, where focus problems are harder to hide.
Protect Highlights and Shadows Before Color Work

Slides can place a bright sky and a dark jacket in the same frame. If either end clips during capture, later editing has less information to recover.
Keep automatic contrast conservative, especially on dense or faded originals. The Library of Congress retained highlight and shadow information and kept post-processing minimal so preservation files remained flexible for later use.
The same rule works in digital scanning. Save a neutral master first. Intact tonal information gives photo restoration more to work with than a file that has already lost subtle shadow or highlight detail.
Ansel Adams expressed the idea neatly: “The negative is the score, and the print is the performance.” Capture the available information first, then prepare the output for its intended use.
Keep the Master Separate From Sharing Copies
A dependable slide scanning workflow should not force one file to serve every purpose. TIFF is practical for a master when future editing matters and storage allows it. JPEG is convenient for email, phones, galleries, and everyday sharing.
Keep the master untouched. Export smaller digital images for routine use and a separate print-ready version when needed. Repeated compression should not affect the only preservation copy.
If a physical print is the goal, photo printing services can work from the strongest file instead of a small shared copy. Photo scanning services should likewise be judged by the quality of the master they deliver, not only by a reduced preview.
Avoid Processing That Creates False Sharpness
Slide scanning can look crisp while losing natural texture. Heavy sharpening can create halos. Strong noise reduction can smear skin texture and grain. Automatic color correction can remove lighting that genuinely belonged to the scene.
Test infrared dust correction on a representative film before applying it across a collection. Keep the master conservative and reserve stronger corrections for derivative files.
When comparing slide digitization services, ask whether dust cleanup, sharpening, and color correction are applied to the master or to a separate copy. That matters when files may later be restored, published, or enlarged.
Review Small Batches While the Slides Are Out
After each group, check orientation, crop, focus, dust, color balance, clipping, and file naming.
Open several files at 100 percent. If added resolution reveals nothing new, use the lower setting. If a correction removes texture along with dust, reduce it. This makes image scanning more consistent and lowers the chance of rescanning a large batch.
Mixed collections need separate rules. Photo digitization can differ from film digitization, while digital images intended for print may need different derivative sizes from files meant for family sharing.
Know When Professional Work Is Worth It
DIY work can suit a small, stable collection. Professional help is more useful for large batches, fragile mounts, severe fading, difficult exposures, or important reproduction work.
When comparing providers, request a sample from your own slide. Check pixel dimensions, crop, focus, color treatment, file format, and cleanup at full size. Choose slide digitization services only after reviewing the sample. A reliable scanning company should explain those choices clearly.
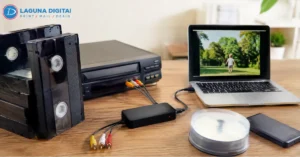
If the archive also contains movie reels or tapes, keep that work separate from still-photo capture. A dedicated video and film transfer service uses a workflow designed for time-based media rather than individual mounted slides.
Run One Final Test Before the Full Batch
Before the full slide scanning job, confirm that the test slide is clean, seated correctly, and captured at a setting the scanner can resolve. Check focus at 100 percent and watch for clipped tones.
Repeat the test with a difficult frame. This is where high resolution scanning should justify the larger file. More pixels should reveal useful information, not simply enlarge blur or grain.
Film scanning services and photo scanning services should be able to state what is captured, what is corrected, and which file is delivered as the master. Consistent answers matter more than one oversized resolution claim.
What resolution is best for 35mm slide scanning?
For many 35mm slides, about 2,800 to 4,000 ppi is a practical working range. The best setting depends on true scanner performance, original sharpness, and final use. Test two settings on the same detailed frame before processing the collection.
Is 4,000 ppi enough for old slides?
A 4,000 ppi capture from a standard 35mm image area produces roughly 21.4 megapixels before cropping. That can provide strong image resolution for archiving, detailed viewing, and many enlargements when the scanner resolves real detail.
Should slide scans be saved as TIFF or JPEG?
TIFF is useful for an editable master when storage permits. JPEG is practical for sharing. Keep the master separate so routine compression and resizing do not affect the preservation copy.
Can damaged slides be improved after scanning?
Careful photo restoration can improve fading, dust, scratches, and tonal problems. It cannot fully recover detail lost to camera shake, severe blur, or poor scanner focus. Accurate capture should come first.
When should professional help be considered?
Professional work is useful for large collections, fragile mounts, difficult exposures, or valuable originals. Compare test files at full size. Good high resolution images should show real captured information rather than artificial edge enhancement.
Conclusion
Sharp slide scanning comes from safe handling, real optical resolution, accurate focus, protected tonal range, restrained processing, and regular quality checks. A disciplined slide-scanning workflow keeps those decisions consistent. A small test batch can expose problems before they affect hundreds of originals.
If a rescan would be costly or risky, test representative slides first and approve the workflow only after reviewing the files at full size. For preservation-focused capture and dependable digital scanning, contact Laguna Digital with the slide format, quantity, condition, and intended use so the project can be matched to an appropriate capture workflow.