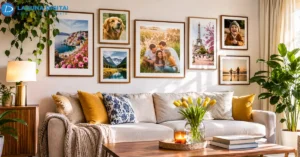


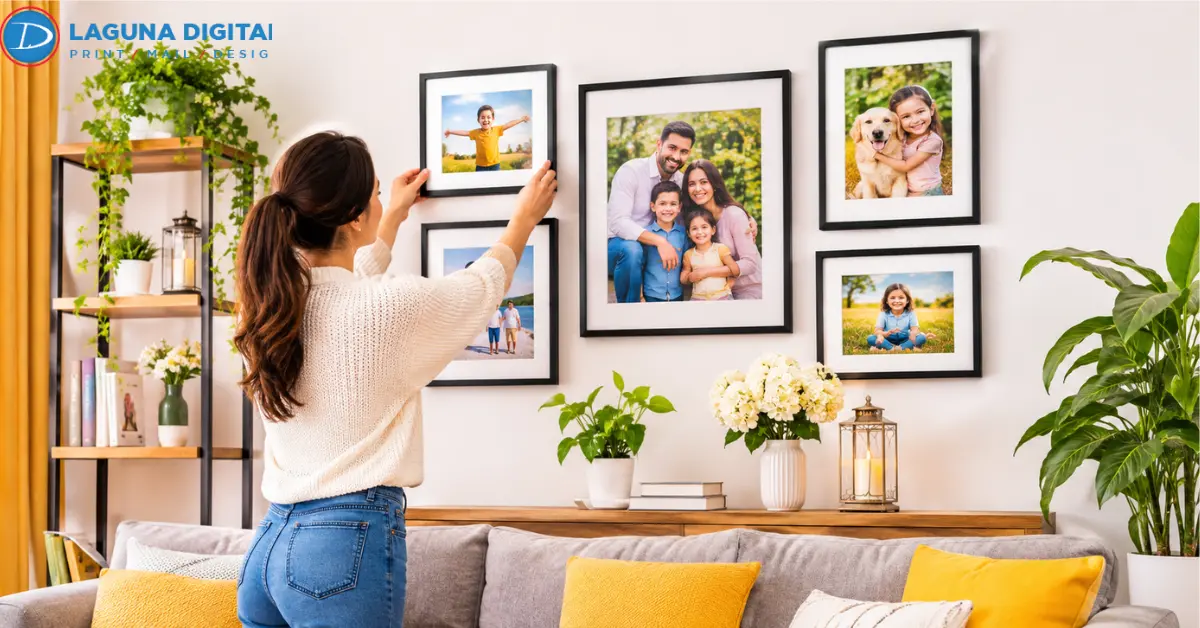
Family Portraits are not always in the same size or type. Several have been shot professionally, others were captured on old phones, and a few have perhaps been scanned from printed albums. Everyone has memories – but it can be surprisingly hard to gather them all on a single wall.
The issue is typically not so much about the quantity of photos. It’s the relationship with each other. For instance, if you have a large wedding portrait on one side of the arrangement and some very small vacation photos on the other side, one side can appear heavier. Other frame colors and irregular spacing contribute to the problem.
An effective photo wall doesn’t need to feature the same photos or fancy frames. It requires a wise choice, appropriate size of print and placement based on the room layout. By obtaining that info before printing, you won’t be replacing prints because of incorrect information.
Photo Wall Planning Starts With the Available Space
The living room, hallway and stairs present very different opportunities for displaying family photographs. The location should determine the size and shape of the arrangement. Consider a wall above a three-seat sofa. A set of four photos may seem like just a single misplaced picture, but a collection of 15 photos can make the seating area appear cramped. The opposite problem is a narrow hallway.
The passage can be constricted by having too many large frames. Be sure to measure the wall space available prior to choosing photos. Add the width of the furniture under it, close doors, windows, switches, and shelves.For a sofa or console-top display, a display of approximately two-thirds the width of the display casing is appropriate. Modify it based on the photos and the dimensions of the frame or canvas.
Select Photographs That Belong Together
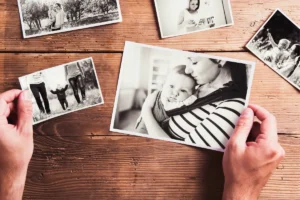
Buying the frames is rather unimportant compared to the selection process. Most families will have hundreds of photographs but only a few hundred will make a good display. When picking pictures, pick a relation between them, instead of picking them randomly. It might be a family holiday, inter-generational, childhood events or images captured at significant occasions.
For instance, a series of pictures of children of different ages may run in chronological order. Instead, a display of wedding pictures, family photos and portraits can draw different generations together.
Compare Similar Photographs
If you have multiple photos from the same event, shop around to see which one is best for you before making your selection. Look for:
- Clear faces and natural expressions.
- Clear good lighting, no shadows.
- A sufficient distance from individuals to crop.
- A background that is not distracting from the subject.
- Large enough for the desired size of print.
Don’t select the sharpest background just because it is the photo you have chosen. A slightly awkward candid shot could actually have more of a personal connection than a traditional portrait.
Keep Colors From Competing
Colors in pictures taken a few years apart will naturally be different. Some can be warm yellow, others can be cooler or have a better contrast. You don’t need to use the same filter for all pictures. But there’s a consistency that aids.
Older and newer images can be consolidated with black and white photos. If you like color, do not mix and match heavily edited images with images with vastly different color levels. The goal is a gallery that is unified, rather than a series of photos that all look alike.
Choose an Arrangement That Suits the Photographs
When the pictures are ready, determine how the pictures will go together. The ideal design will vary according to size and dimensions.
The Traditional Grid
This works best, when all the pictures are of the same size. Two rows of pictures: for example, six pictures, can be presented in a simple rectangular display.
Always use matching frames of the same size and keep the gap the same. This is ideal for family portraits, school photos, and photos of the same occasion.
Get the Frame Measurements Right
Not all photographs are created equal. The large wedding picture or the photo of several generations can be the centerpiece, with smaller pictures surrounding it. The supporting photographs should still be large enough to be able to see people’s faces in them.
Don’t stack all the small frames on one side, or it can seem out of balance when all stacked together.
A few details deserve checking before purchasing:
- Measure the outside width and height of each frame.
- Check whether a mat is included.
- Make sure the frame supports the intended print orientation.
- Use suitable hanging hardware for its weight.
- Keep the frame finish consistent where possible.
Prepare the Original Photographs for Printing
This is why many otherwise good arrangements go wrong. It can be a picture that comes out crisp and clear on a cell phone, but looks fuzzy when enlarged to print. Please review the original image file prior to ordering. Content downloaded from social media sites could be compressed screenshots and photos. If the original camera file exists, use that instead.
Check the Image Before Enlarging It
Think about a family picture that was taken on a vacation. The original could be wide, but the frame for the display might be a portrait 8″x10″. To fit the image in that frame, part of the image must be cut off. If a person is located in the vicinity of the edge, the crop may take away an essential component of the picture.
Look through the picture at the desired size. Look at the face, hands and other details before approving the print. If you want to print family photos, bring the original file and the dimensions of photos you want to end up with. This will help the print provider to understand what you are looking for.
Choose a Paper Finish for the Room
Paper finish will alter the look and appearance of the photograph under indoor lighting.
- Satin: Reflects overhead lights and might not have as vivid of colors or contrast.
- Smooth: Is softer, and may be used if reflections are an issue.
- Luster: provides some shine but not as reflective as shiny paper.
It may be better to use a less reflective finish on a photograph opposite a window. In a soft lighting area, a portrait on glossy paper might be ideal. Please see the finishes in the dimensions before ordering. The size of the options may vary from standard to larger sizes.
Keep the Surrounding Decoration Under Control
There is no need to have an object next to each picture in a photo display. The use of signs, shelves, artificial plants and ornaments can distract attention from the pictures. Photographs, frames and area around the frames should all play a role in creating a good gallery wall decoration. When the arrangement is incomplete, ensure that its size and position are correct before placing more objects.
In rooms featuring patterned wallpaper or multi-colored furniture, minimalist picture printing can help the display of pictures to not get lost in the mix. Having more than a few simple photos that are not related to each other may not be the best.
If photographs are changing often, picture ledges are also available. They help to slide framed prints without new holes in the wall. Larger frames at the back of the room, smaller frames in the front.
Review the Prints Before Hanging Them
Upon receipt of prints, don’t hang prints immediately. Place the framed pictures on the floor in the design configuration. Ensure that the colors complement each other, that the largest image doesn’t stand out too much and that the spaces are balanced. Place a picture of the entire setup at a distance. It can help to show issues that may not be apparent from close range.
If ordering wall photo printing, check the dimensions and print quality of the paper before you place your order. Keep a simple list of filenames and orientations and measurements if there are different sizes in the project.
Different types of printing formats might be available for a digital printing service, but the type of photographic paper and the sizes available should be checked for the specific order. This little preparation can help avoid confusion with a few photos that are alike when you’re using a gallery wall for picture printing.
Maintain the Display as Family Memories Grow
Family collections won’t stay the same over time. New pictures become significant, kids get bigger and family events produce more pictures worth exhibiting. Maintain original digital files in a year or event-based structure. If there is a damaged print, it’s easier to replace with the original file.
Gently dust frames with a soft dry cloth. Do not spray cleaning products directly on the glass as moisture can be trapped in the frame. Avoid exposure to wet surfaces and too much sunlight. If there will be changes, leave space for future photos rather than filling all spaces. This will make it easier to update the display without re-staring the computer.
Frequently Asked Questions
What’s the ideal number of photos for a family photo wall?
The number varies according to the dimensions of the frames and space available. If the wall is relatively small, 3 to 5 photos might be sufficient, but if the space is larger, more could be used. Select the number after making a plan of the total arrangement.
What is the optimum height to hang family pictures at?
A good rule of thumb is to install the mid-point of the full installation about 57-60 inches from the ground. Position should also be related to the furnishings above a sofa. Test arrangement prior to drilling.
Do Family Portraits need to be Framed?
Matching frames create a consistent appearance, particularly in a grid. There are two complimentary finishes that can also work, though. Use the same width or shade of mat to tie in the various frames.
Which Print Sizes are Good for a Gallery Wall?
Common options include 4-by-6, 5-by-7, 8-by-10, and 11-by-14 inches. The main image is a larger photo, with smaller sizes of prints around it. Be sure to review the original image size before selecting a size.
Can Old Family Photographs Be Used for Wall Displays?
Yes. Photographs that have been printed can then be scanned and saved as digital files which can be used before new prints are made. For images that are faded, scratched or otherwise damaged, they might require restoration first. Preserve the original photographs, especially if they are irreplaceable.
Conclusion
A family display should reflect the photographs that matter most, not how many frames can fit on an empty wall. Choose a collection with a connection, check the image quality, and make sure the frame dimensions suit the available space. These decisions will do more for the finished arrangement than adding extra decorations.
Review the available formats, finalize your image selection, and request a printing quote once you know the quantities and dimensions you need. A little care before placing the order can make the finished display much more satisfying.