


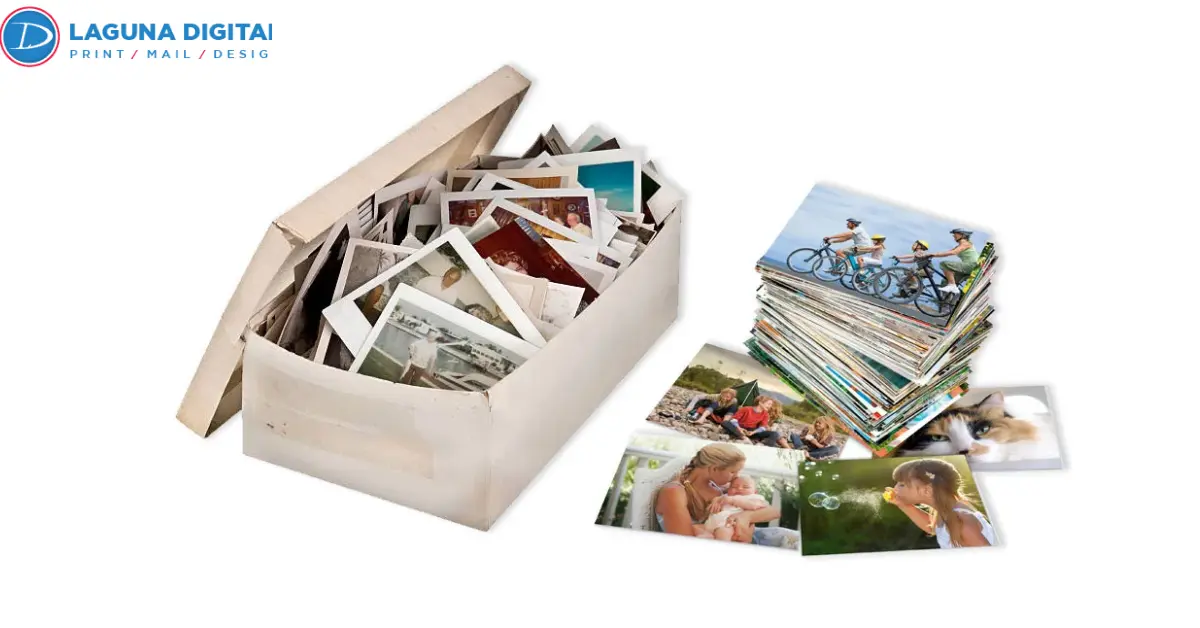
Family collections tend to arrive with their own half-finished system. Some pictures are still inside lab envelopes. Others have fallen out of albums. There may be four copies of the same school portrait, a wedding photograph with a name written on the back, and twenty snapshots that nobody can date.
That is actually a useful place to start. Before creating a new system, pay attention to the information the collection already carries. An envelope, an album page, a handwritten note, or even the order in which a group was stored can tell you something that may disappear once every image becomes a separate digital file.
Scanning Hundreds Of Photos Starts Before The First Photo Is Scanned
Start with one small part of the collection. It could be a shoebox, an album, or what’s inside one drawer. Try not to put every picture you have on the dining room table. That usually makes the sorting problem worse than the one you started with.
Look first for groups that already make sense. A lab envelope marked “Lake Tahoe 1989” should stay together for now. So should the photographs from one album page. If you plan to remove pictures from an album, photograph the page before doing it.
Once those prints are separated, the page number, caption, and neighboring images may be the only clues to their original relationship. For most families, this first pass is enough to organize old photos into broad working groups. Exact dates are not necessary yet.
Choose A Sorting Method Your Family Will Actually Understand
There is no universal filing system for family photographs. Chronology works beautifully for some collections and poorly for others. A family that moved frequently may remember pictures by city or house. Another may think naturally in terms of grandparents, weddings, school years, holidays, or military service.
Use the strongest clue you have instead of forcing every photograph into a calendar. “Dad’s college years” can be more useful than “1981 to 1984” if nobody knows the exact years. When a date is uncertain, leave it uncertain. A label such as “Late 1970s, probably Ohio” preserves what is known without creating false precision.
This approach also helps organize family photos that have come from several relatives. Keep each person’s material separate during the rough sort. Connections usually become clearer after the larger groups are visible.
Identify People Before Spending Hours On Perfect Chronology
One part of the project becomes harder with time. People who can identify an unfamiliar aunt, neighbor, childhood home, or military friend may not always be available to ask.
Set those photographs aside early. Bring them to the relative who is most likely to know the story and record whatever can be confirmed. A full date is helpful, but even something like Turn important prints over while sorting.
Handwritten names, studio stamps, addresses, processing dates, and short notes are easy to miss when attention stays on the image itself. When scanning old photos with meaningful writing on the reverse, mark those pieces so both sides can be kept together digitally.
The Library of Congress recommends careful handling and advises against pressure-sensitive tape, sticky notes, rubber bands, and similar materials coming into contact with photographs.
Treat Duplicates As A Small Editing Job, Not A Purge
Duplicate prints are common because families often ordered doubles and shared them. Removing obvious copies can reduce the amount of work involved in bulk photo scanning, but there is no reason to make every decision permanent on the first pass.
Place two identical prints side by side. Check both fronts and both backs. The sharper one may look like the obvious keeper until you notice that the other has a date or a relative’s handwriting. Keep the copy that preserves the best combination of image quality and information.
Near duplicates are different. A second photograph taken a moment later may include another person, show more of the room, or capture a different expression. If deciding takes longer than a few seconds, keep both. A small “decide later” envelope is far better than getting stuck on one photograph while hundreds remain untouched.
Separate Fragile Prints Before Routine Photo Scanning
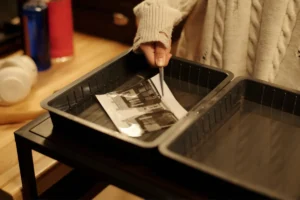
There are some photographs that should not go into the same workflow as durable 4-by-6s. Set aside anything with curl, cracks, tears, mounting, pages of an album, water damage, size, or other signs of fragility.
Do not forcibly straighten a persistent curl, or forcibly separate stuck-together photographs. National Archives recommends supporting photographs at all times while handling and storing them. Do not bend, fold or back-roll fragile material.
At the same time, here’s where the project size counts. Processing hundreds of loose prints may be feasible at home. But Albums, unique sizes, negatives and slides, or sensitive originals can make photo scanning services worth considering.
With professional scanning, inform the provider of any anomalies in the items prior to collection rather than entrusting them to be discovered partway through. An old photograph scanning service should also be advised if some groups need to be kept together or if backs of certain prints should be scanned.
Make Your Batch Labels Useful On A Computer Too
The physical label and digital folder can use the same wording. Inside the folder, filenames do not need to become complicated catalog records. That simple connection between physical batches and folders solves a large part of digital photo organization before the files even exist.
Keep an untouched master copy of each finished scan as well. Cropping, color correction, restoration, and other photo digitization solutions can be applied to duplicates of that file later. The master gives you something clean to return to if an edited version is ever lost or overworked.
Give A Large Collection A Short Batch Record
You can’t remember hundreds of photos easily, but you don’t need a complex database. A piece of paper or a line on a spreadsheet can include the batch name, approximate date, number of prints, special instructions, and whether any backs need to be taken.
That should be sufficient for most professional scanning jobs, but it also provides you with something tangible to compare the documents to afterward. And always ask practical questions when comparing photo scanning services.
- Can your groups remain separate?
- Can selected backs be included?
- What happens to oversized prints?
- How are albums handled?
Those answers have more value than building an elaborate numbering system nobody in the family intends to maintain.
Check The Digital Files Before Putting The Boxes Away
Make sure you keep the batches safe until you have looked through the folders. Take prints from each batch, then check the collection for missing photos, photo corners, photos that are sideways, broken batches, and front-to-back scans that have come apart.
When you find mistakes, fixing them will be much easier if you have the prints nearby. This final step in the review process turns scanning photos into a neatly organized photo archive. Then make sure to save your collection in different places. Maybe you digitize photos and store the only copy of the digital collection on one external drive.
Keep The Original Prints Even After You Digitize Them
A digital copy is convenient, but the original photograph can contain information that is easy to overlook on a screen. Borders, handwriting, stamps, paper texture, mounting details, and other physical clues may matter later.
Once the files are checked, return the originals to suitable storage where they stay dry, stable, and protected from unnecessary handling. The digital versions can then take over most everyday use.
When a new album, frame, event display, or present will have some of the chosen pictures, a family photo printing service can make copies from the file instead of using the older photos. Scanning family pictures like this helps keep the originals safe while showing off the collection.
Use The Same System When The Next Box Appears
Most family photo projects are not truly finished. Another album turns up at a relative’s house. A cousin sends a packet of prints. Somebody finds negatives that belonged to a grandparent.
Do not invent a new system each time. Reuse the same broad categories, naming style, and digital folder structure. It becomes much easier to organize old photos when every new group has an obvious place to go.
The same consistency helps organize family photos across generations and keeps future bulk photo scanning from becoming a separate archive with completely different names.
Frequently Asked Questions
What Is The Fastest Way To Sort Hundreds Of Old Photos?
Start with one box or album and preserve groups that already have meaning. From there, sort broadly by decade, family branch, event, home, or another category your family recognizes. Leave uncertain photographs in their own group instead of stopping to solve every mystery.
Should Every Photo Be Dated Before I Scan Old Photos?
No. A useful range or event is often enough. Spend more time identifying people and preserving handwritten information that may be difficult to recover later.
Should I Include The Back During Photo Scanning?
Include the back when the reverse has a name, date, place, studio stamp, message or any other identifying information. Ensure the front and back have matching identifiers to prevent separation later.
When Is An Old Photo Scanning Service Worth Using?
This service is especially useful if your collection is sizeable, includes albums or multiple formats contains delicate photographs would require more time than you can spend at home.
What Should I Do After I Digitize Family Photos?
There is a general consensus among professional archivists and archivist groups such as the Image Permanence Institute and the Society of American Archivists that you should keep one master copy and have at least one copy of your photographs stored separately from the master copy.
To Sum Up
Keep your preparation mundanely effective. Store interesting groups together. Write down names before someone forgets them. If photos need special treatment, remove them from the rest of the group. Assign a name to each finished group of photographs so that it fits on the computer and the box.
That’s enough structure to get through all those old photos without creating hundreds of nameless files. When the pile is categorized, with the anomalies clearly identified, Laguna Digital can facilitate the transition to a functional digital archive.
Estimate the number of photographs, mark any fragile or oddbacks to remember, ask for a quote with this information completed.