



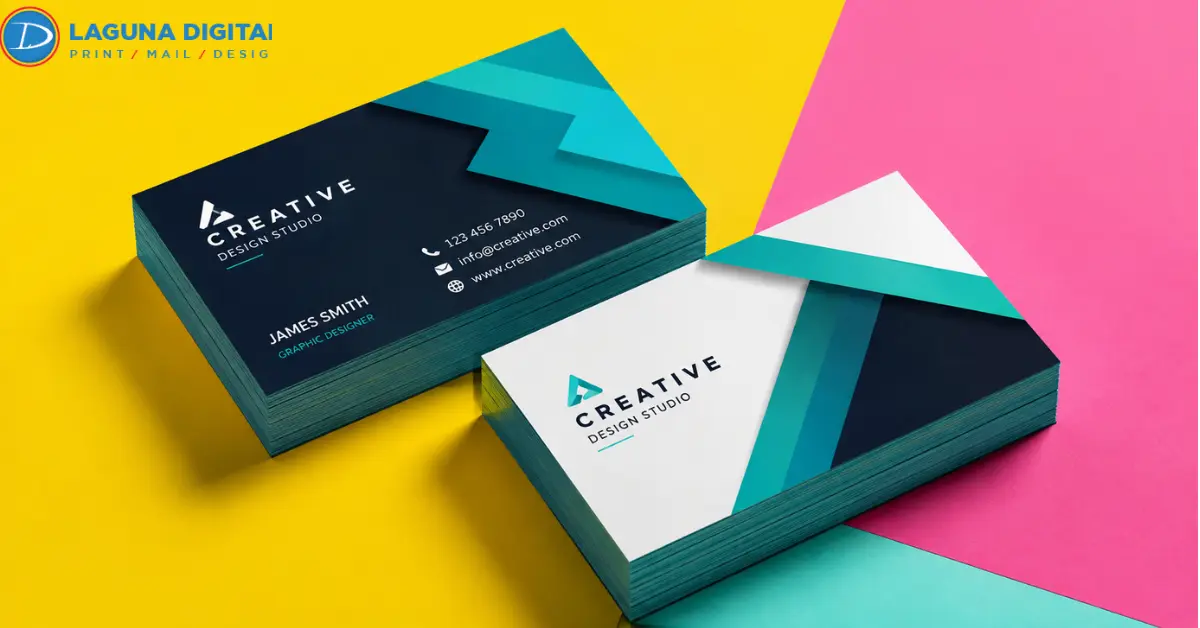
A business card can look perfectly finished on screen and still come back from print with a thin white edge. In most cases, the problem is not the printer or the paper. The artwork simply stopped at the trim line instead of extending beyond it.
For a standard U.S. card, the finished business card size is usually 3.5 × 2 inches. If the printer requires 0.125 inch of bleed on each side, the complete artwork measures 3.75 × 2.25 inches.
Those extra fractions of an inch give the cutting process room to work without exposing unprinted paper around the edges.
Bleed Business Cards Start With the Correct Document Size
The easiest time to set up bleed business cards is before placing the first logo, photo, or line of text. A typical U.S. setup looks like this:
| File Area | Common Measurement |
| Finished card | 3.5 × 2 in |
| File with 0.125 in bleed | 3.75 × 2.25 in |
| Raster file at 300 ppi | 1125 × 675 px |
The printer’s template should always take priority because specifications can vary between products. If you are producing the conventional rectangular format, reviewing the available standard business cards before designing helps confirm the finished size, stock, coating, and other production choices.
Know where bleed ends and trim begins
Business card bleed is the extra artwork outside the finished card. If a photograph, texture, or color is supposed to reach the edge, it needs to continue through this area. The printer trims the card back to its final dimensions after printing. This is why a 3.75 × 2.25-inch file does not produce an oversized card. The extra area is removed during finishing.
Keep important content away from the cut
Text works in the opposite direction. Names, phone numbers, logos, URLs, and QR codes should stay safely inside the trim line. A 0.125-inch inner margin is a useful starting point, though some layouts benefit from additional space. The best business card layout should never rely on a perfectly exact cut to protect important information.
Design the Card Around the Final Trim
A common setup mistake happens when a finished 3.5 × 2-inch design is enlarged at the end to create bleed. That may solve the background problem, but it also pushes the logo, phone number, and other details closer to the edge. For bleed business cards, extend only the artwork that is meant to reach the finished edge.
Backgrounds should continue outward
Solid colors, full-page photographs, gradients, and patterns should cross the trim line and reach the outer bleed boundary.
This is especially important with dark colors. Even a very narrow strip of exposed white paper can stand out against black, navy, red, or another saturated background.
Borders should move inward
Borders are different. A thin frame positioned close to trim can appear uneven after cutting, even when the original business card design is perfectly centered. Moving a border farther inside the card usually produces a cleaner result and makes small finishing variations much less noticeable.
The same attention to spacing should carry through the rest of the design. The guide on how to design effective business cards for printing is useful when refining typography, visual hierarchy, and content placement before the file reaches preflight.
Check Image Quality Before Exporting the File
Correct business card dimensions do not automatically mean the artwork is ready for print. Raster logos, photographs, screenshots, and other pixel-based graphics can lose sharpness when they are enlarged. For most close-viewed print work, 300 ppi at final size is a practical target. A full 3.75 × 2.25-inch raster canvas therefore measures 1125 × 675 pixels.
Business card resolution should be checked at the size the artwork will actually print, not simply by looking at the original image dimensions. Vector logos and text are preferable when available because they can scale without the same loss of clarity.
Prepare the PDF for Production
Once the artwork is complete, the exported PDF becomes more important than the working design file. A print ready business card should open at the correct size and retain its bleed, fonts, images, and front-to-back orientation.
Commercial business card printing commonly uses CMYK-based production, but PDF presets, color profiles, and mark requirements can differ. The business card printing company handling the order should provide the final specification.
Open the exported PDF again
Do not approve a file immediately after clicking Export. Open the PDF separately.
Zoom in and inspect every edge. Look for tiny white gaps, missing bleed, weak images, shifted text, or unexpected font changes. Then view the file at approximately actual size. A small type that looks comfortable at 300 percent zoom may feel crowded when the card is viewed normally. That second review catches problems that are easy to miss inside the design application.
Preflight the Card Before Uploading It
Preflight should be a short production check, not another design session. For bleed business cards, verify these points before uploading:
- The finished size matches the ordered product.
- Bleed reaches every required edge.
- Essential details stay inside the safe area.
- Business card resolution is suitable at final size.
- Front and back have the correct orientation.
- Phone numbers and email addresses are accurate.
- URLs and QR codes lead to the right destination.
- Crop marks are included only if the printer requests them.
One incorrect detail becomes much more expensive when several hundred cards are involved. That is why a larger order deserves one final review. The 500 business card preflight checklist covers the information, artwork, and proofing decisions worth checking before bulk business card printing begins.
A second person should also proof the contact information whenever possible. A technically perfect file can still contain an outdated extension or incorrect email address.
Use the Right Template for Specialty Cards
The bleed principle does not change when the shape changes, but the document size does. Square, slim, and other custom business cards should always begin with the template for that specific product.
For example, square business cards come in different finished dimensions. A square layout should not inherit guides from the standard 3.5 × 2-inch format. This is one reason product selection should happen before final artwork.
Choose the format first. Build the file around its dimensions. Then place the design. That sequence prevents unnecessary scaling and makes custom business cards much easier to prepare correctly.
What a Correct Full-Bleed Card Should Look Like?
Consider a simple horizontal card with a dark background, a white logo, contact details, and a QR code.
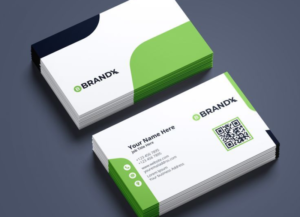
The finished card is 3.5 × 2 inches. With 0.125-inch bleed, the document is 3.75 × 2.25 inches. The dark background reaches the outer edge of that larger document. The logo, contact information, and QR code remain comfortably inside the trim.
Nothing important touches the cut. That simple relationship is the foundation of bleed business cards. Background artwork moves outward, while essential content moves inward. For a company ordering several employee versions, keep those boundaries fixed in one approved master file. Names and titles may change, but the production geometry should not.
Match the File to the Product Before Ordering
Before sending the artwork to a business card printing service, compare the final PDF with the exact product being purchased.
Check:
- finished dimensions
- orientation
- paper choice
- coating or finish
- one-sided or two-sided printing
- quantity
- turnaround
- artwork requirements
This last comparison is particularly useful when ordering business cards online because different formats may use different templates. The main business card printing can be reviewed once the artwork is ready and the appropriate format needs to be matched with stock, finish, and quantity.
Frequently Asked Questions
What does bleed mean on a business card?
Bleed is extra artwork extending beyond the final trim line. It allows a photograph, color, or background to reach the finished edge without leaving an unwanted white strip after cutting.
How much bleed should a business card have?
A common U.S. requirement is 0.125 inch on each side. That turns a 3.5 × 2-inch finished card into a 3.75 × 2.25-inch artwork file. Always follow the printer’s specification if it differs.
What are standard business card dimensions in pixels?
At 300 ppi, the standard business card size of 3.5 × 2 inches equals 1050 × 600 pixels at trim. With 0.125-inch bleed on all sides, the full raster canvas becomes 1125 × 675 pixels.
Can bleed be added after the business card is designed?
It can, provided the background has enough artwork to extend outward. Enlarging the complete design is usually a poor solution because it can move text and logos too close to trim.
What should a business card printing service receive?
A business card printing service should receive the file format it requests, commonly a high-quality PDF with the correct size, business card bleed, safe margins, image quality, and font handling. Add crop marks only when requested.
Give the File One Final Check Before Printing
Well-prepared bleed business cards do not need last-minute stretching, repositioning, or guesswork.
Confirm the template first. Extend backgrounds beyond trim. Keep important details safely inside the card. Check image quality, open the exported PDF, and proof every piece of contact information before approval.
When you are ready to print business cards, confirm the selected format, stock, finish, and quantity before releasing the job. The completed artwork can then be submitted through Laguna Digital for production.