

Your design might look great but could have a white border, faded logo or elements too close to the edge. By checking your file before submitting you can avoid amendments and associated costs. As a business card is printed, the finished size will be measured according to the actual print.
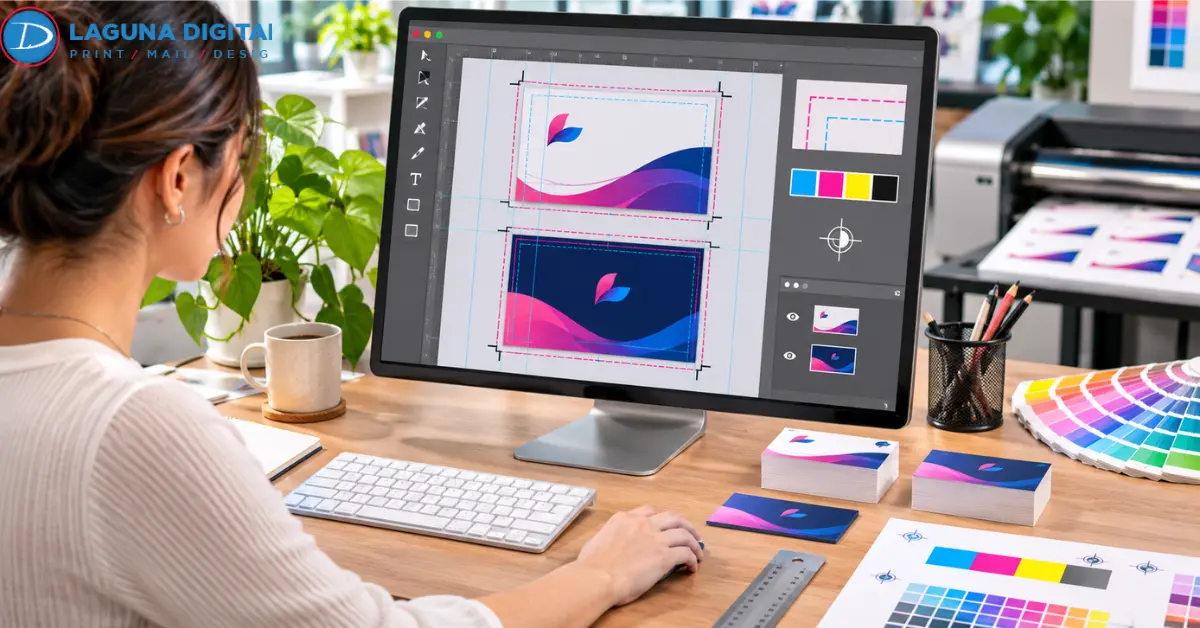
When creating your business card file, ensure that you have set up the correct size. Using the product template will help to ensure you have the correct bleed, safe zone, resolution and colour settings. Your file will also have the source artwork separate to your final print ready file.
Once your business card is print ready, following the printers guidelines. This also applies to online business card printing.
Confirm the Finished Size Before Designing
Set the US Trim Size
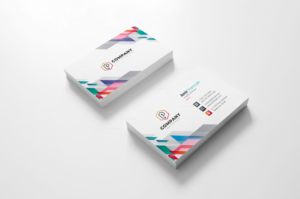
The most common finished size will be 3.5” x 2”. This is the trim size. Ensure you are using the correct measurements before adding any text/logo. The standard business card size should be provided by your printer. Always check what standard size is available before using a previous file.
Add the Required Bleed
Any artwork outside of the trim line will need to be included in the bleed. Anything in the background or along the edge of the design should be extended. Laguna Digital requires 1/8” bleed and crop marks to be added to applicable uploads.
If your trim size is 3.5” x 2” and you’re including 1/8” bleed on either side, your art size should be 3.75” x 2.25”. Check your template to see if bleed is already included. Including bleed will help to avoid any white borders.
Keep Details Inside the Safe Area
Avoid having any text, numbers, email addresses or logos on the trim line. A common size to use is 1/8” in however always use the template. Business cards should have some space around the elements. Avoid using thin borders along the edge of your business card as this could look uneven due to the cut being slightly off.
Confirm Orientation and Both Sides
Ensure you have chosen landscape or portrait orientation. When designing double sided business cards ensure both sides match. If designing two sided business cards follow the printers guidelines for separate pages/files. Proofing your design will help to avoid any upside down reverse sides.
Prepare Artwork for Professional Printing
Use Images at Their Final Size
Images such as photos and pixel based images should be 300 DPI. Always use the final size of the image. If you enlarge a small image from the web it won’t add any extra detail. Avoid using screenshots for logos. Vector logos will remain crisp when scaled. This is one factor to consider for quality when printing your business card. Your business card should remain crisp.
Keep Logos and Graphics Clean
Always have your logo, brand colours and contact information ready. Vector files work well for logos and icons. If you have a raster logo, ensure the resolution is good. Having a good setup for your business card artwork will help to avoid any fuzzy edges.
Make Contact Details Easy to Read
Each line should have a reason for being there. Include your name, title, company, phone number, email address and website (if applicable). Use clear fonts and contrast. A good design will help people find the information they need. Your finished business card should be easy to read from arm’s length.
Use the Printer’s Color Instructions
As screens use RGB lighting and process printing uses CMYK inks, bright colours may look different. For CMYK to be used on applicable uploads (excluding blueprints and black and white). Follow the colour guidelines provided by your printer.
Match the Layout to the Paper and Finish
The paper and coating will influence how your business card looks. Gloss will give a shinier finish, whereas matte will give a duller finish. Uncoated paper can be written on. Ensure your custom business card printing matches your chosen paper. Check the card stock and finish options.
Export and Inspect the Production File
Export the Final PDF
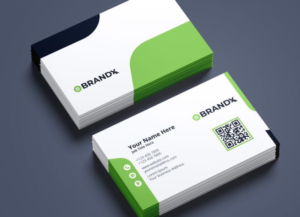
PDFs will maintain your page size, images and font details. Ensure you know if there are any specific standards for PDFs or if they need to be split into different files. Make sure your PDF is print ready and meets the production criteria. Before sending, open your file.
Embed Fonts or Outline Them When Required
If possible, embed your fonts. Otherwise, if asked to outline text then make sure that you have a copy of the original design to make any changes later. Outlined text can no longer be edited. This will also help to stop any font changes.
Add Crop Marks Only as Requested
Crop marks will show you where to cut your sheet of paper. Any bleed will ensure more artwork is included. Laguna Digital wants crop marks and bleed included on any applicable uploads. Ensure they are not included in your final design. Make sure you follow the instructions for order.
Inspect the Exported File
Ensure you check both sides of the PDF. Zoom out to 100% and check there are no missing images, fonts have not changed, there are no guidelines, everything is aligned correctly and there is no text that has moved. Also ensure the page sizes are correct. Finally, reviewing your business cards for printing will help identify any errors.
Save the Correct Production Version
Save your approved file using the company’s name, side and version. Ensure your editable file and linked images are saved separately. Keeping your print ready files organised will help you make any changes easier.
Check the Order Before Sending It to Print
Avoid Enlarging Weak Artwork
Scaling the pixels won’t add any detail. If your logo looks blurry, ask the client to send a better source file. Sending a sample of the artwork at actual size will help identify any blurriness.
Proofread Every Contact Detail
Check your phone numbers have been entered correctly, one by one. Ensure your emails, website, names and titles are spelt correctly. Test your QR codes on your phone. Just because they scan on screen doesn’t mean they will when printed as they might be too small or have a poor contrast.
Match the File to the Product
Ensure your file has the right shape, size, number of sides printed, stock, coating and corners. Custom business card printing needs to match the options chosen.
Follow the Upload Requirements
There may be different criteria for uploading your file. The upload form will show what file types can be uploaded, how much you can upload and any bleed, crop marks, colour mode and resolution requirements. Check this before uploading your file. Other online business card printing may have different criteria. Ensure your business card artwork has been set up correctly.
Ask for a Proof When the Job Needs One
A PDF will not show the texture of the paper, coating or final colours. If you are ordering a large amount or have a special finish then ask if a proof can be provided. This will help to ensure a reliable service for your business card printing and avoid any changes. Check the quote, business card sizes match what has been chosen.
Frequently Asked Questions
What is the standard size of business cards in the US?
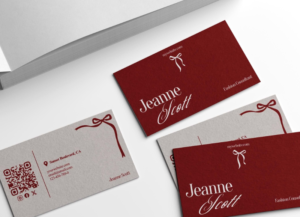
The standard business cards in the US are 3.5 x 2 inches (without bleed). You will find these fit easily into most wallets. Other designs are available, so you need to check the product template. If you have a custom size, you might need to adjust the safe area.
How much bleeding do I need?
You will need 1/8 inch bleed on each side which follows the guidelines we’ve provided. Please check the product template as it may be different. You should use the measurement provided.
Should I provide artwork in RGB or CMYK?
Check the instructions from your printer. We ask for CMYK on applicable uploads. Please note we do not ask for CMYK for blueprints or black and white printing. Some may accept RGB, but please confirm.
Will my PDF be print ready?
No. There can be issues such as incorrect sizing, no bleed, low resolution images and incorrect fonts. A print ready business card will have followed the printer’s instructions. Ensure you have checked the trim, safe area, artwork and export settings. Your print ready PDF should match the approved proof.
Can I use Canva or another design tool?
Yes. As long as the file you export meets the printer’s requirements. You should set the size, add bleed, ensure the safe area has been protected and use the accepted colour settings. Check your PDF. The correct setup for your printing file is more important than what design tool you use. It will affect how your business card looks at the end. Double check your artwork.
Conclusion
Having artwork ready for printing will ensure you have a reliable print. Business cards often give the initial impression of your company, so it’s important to check the trim, bleed, safe area, resolution, colour mode and PDF settings. Proof read everything.
Choose a business card printing service who will check the details of your printing. Therefore, request a quote for your printing, ensuring to include your size, quantity, stock, finish and how many sides you want printed.