
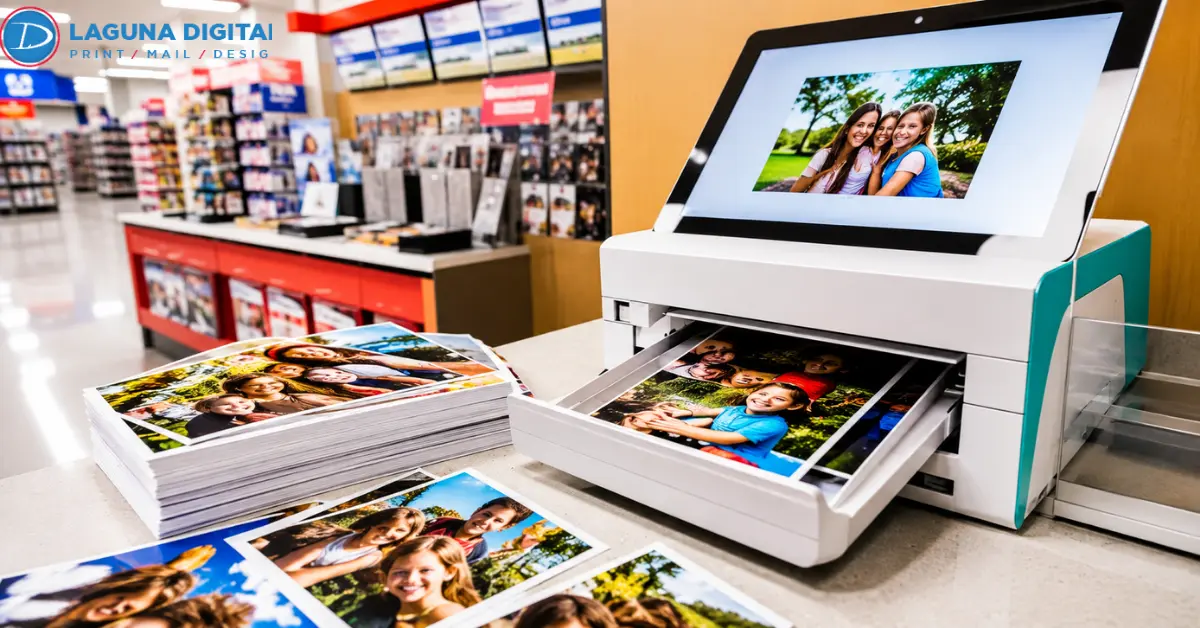
A photo can look perfectly sharp on a phone and still disappoint on paper. The reason is usually not the printer alone. CVS photo printing works with the detail already present in the file, so focus, pixel dimensions, cropping, compression, and the final size all affect the result.
For close-viewed prints, about 300 pixels per inch is a useful target. Adobe’s print-resolution guidance identifies 300 ppi as the standard for high-quality printing at close viewing distances. Start with the best source you have and do not enlarge it beyond what its pixels can support.
Get Better CVS Photo Printing From the Original File
Before placing the order, inspect the original image rather than a copy from social media, a text thread, or a screenshot. Open it at 100 percent and look at eyes, hair, fabric, small lettering, and other fine edges. If those areas already look soft or blocky, a larger print will reveal the problem more clearly.
That check tells you more about photo print quality than judging the picture on a bright phone screen. Small screens can hide slight motion blur and compression. The same principle applies across photo printing services: the printer can reproduce useful detail, but it cannot recover detail that was never captured.
This matters especially with phone photo printing. Modern phones often have enough pixels for common sizes, but cropping and repeated saving can reduce that advantage. If the picture comes from a phone, the guide to printing photos from a smartphone explains how to keep the strongest version of the file before printing.
Match the File to the Print Size
Resolution becomes easier to understand when it is tied to a real print.
What 300 PPI Looks Like
For CVS photo printing, a simple 300 ppi reference is:
| Print size | Approximate pixels at 300 ppi |
| 4 x 6 in. | 1200 x 1800 px |
| 5 x 7 in. | 1500 x 2100 px |
| 8 x 10 in. | 2400 x 3000 px |
These are preparation targets, not CVS upload minimums. CVS currently offers 4×6 photo prints, 5×7 photo prints, and 8×10 photo prints among its standard options.
High resolution photos can still lose useful detail after an aggressive crop. The right photo print size depends on how many real pixels remain after editing. A 3000-pixel-wide file gives about 300 ppi at 10 inches wide. At 20 inches wide, the same file drops to about 150 ppi. Photo resolution should therefore be considered with physical size and viewing distance.
Changing a file label from 72 DPI to 300 DPI does not add detail. If the pixel dimensions stay the same, the image still contains the same information. That distinction is important in digital photo printing, where effective resolution matters more than the number shown in a metadata box.
When an important image needs closer file review, a professional photo printing service is a more sensible next step than repeatedly resizing a weak source.
Check the Crop Before You Blame Resolution
A sharp file can still produce a poor CVS photo printing result if its shape does not match the paper. Many phone photos use a 4:3 aspect ratio, while a 4 x 6 print uses 3:2. 5 x 7 and 8 x 10 prints use different proportions.
The printer has to crop part of the image or fit it inside the chosen shape. This is where faces, borders, dates, or text near the edge can disappear. A tight crop also throws away pixels, which can lower photo printing quality even when the original file was large.
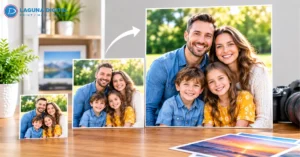
Before checkout, inspect the preview instead of assuming the full frame will appear. This is especially important before using a photo enlargement service, because a crop that seems harmless at small size may become obvious when enlarged.
Protect Detail When Uploading From a Phone
For CVS photo printing, use the original camera-roll or cloud-library version whenever possible. Avoid files saved from messaging apps or exported with settings such as small, medium, optimized, or data saver.
With phone photo printing, editing is not the problem by itself. Repeated exporting is. Work from the original, make the adjustments you actually need, then save one high-quality final version.
Keep sharpening and noise reduction moderate. Too much sharpening can leave bright outlines around hair and text. Strong noise reduction can smooth away skin texture and fine detail. These problems affect photo print quality and can be easy to miss on a small screen.
The same care helps with on demand photo printing. Speed does not compensate for uploading the wrong copy.
Larger Prints Need a Different Standard
Large photo printing makes small weaknesses easier to notice. With CVS photo printing, a file that looks excellent as a snapshot may look softer across a poster.
Viewing Distance Matters
Viewing distance changes what is acceptable. Adobe notes that lower resolutions can work for large-format pieces because they are usually seen from farther away. A wall display seen from several feet does not need the same pixel density as a small portrait.
That is why large images should be planned around both pixels and use. If a photograph is becoming wall art, poster printing is where resolution, viewing distance, paper, and finish all start to matter together.
A photo enlargement service should therefore begin with file evaluation, not just a bigger output size.
Run One Preflight Before Checkout
Before sending a CVS photo printing order, open each image and check five things:
- Is the original actually in focus?
- Are the pixel dimensions suitable for the intended size?
- Does the crop keep faces, text, and borders safely inside the frame?
- Has the file been heavily compressed or repeatedly exported?
- Does the order preview show the framing you expect?
For 4×6 photo prints, pay attention to the 3:2 crop. With 5×7 photo prints, expect different framing. For 8×10 photo prints, inspect faces and fine detail more closely because the larger surface exposes softness.
This quick review is useful whether the order comes from a retail service or a digital printing company. It is also worth doing before on demand photo printing when several copies are being ordered at once. If the finished image will be displayed on a rigid board, the same preflight matters for mounted posters, where enlargement can expose weak focus or an overly tight crop.
Old Photographs Need a Strong Digital Master
A phone snapshot of an old photograph may introduce glare, uneven lighting, lens distortion, and missed focus. When the original matters, scanning it first provides a cleaner master.
The Library of Congress has noted that higher sampling does not create useful detail when that detail is absent from the source. Capture the real information first, then decide how large it can be printed.
The guide to digitizing old printed photographs goes further into preservation and why a proper scan gives future printing work a better starting point.
Print files made from older originals depend heavily on that first capture. Once a good master exists, large photo printing, CVS photo printing, and other forms of digital photo printing become much more predictable.
Frequently Asked Questions
What photo resolution is best for CVS picture printing?
For a print viewed up close, about 300 ppi is a strong target. That is roughly 1200 x 1800 pixels for a 4 x 6-inch print and 2400 x 3000 pixels for an 8 x 10-inch print. Lower effective resolution can still work depending on the subject and viewing distance.
Why does my photo look sharp on my phone but blurry after printing?
A small screen can hide slight motion blur, missed focus, compression, and aggressive cropping. CVS photo printing places the image at a fixed physical size, which can make those weaknesses easier to see.
Can I turn a low-resolution picture into a sharp print?
Careful resizing may improve appearance, but it cannot fully recreate missing detail. For high resolution photos, the better solution is usually to return to the original file or select a smaller output.
Do photo printing services automatically fix blurry pictures?
Some services may provide basic corrections, but no automatic adjustment can guarantee sharp detail from a poor source. The result still depends on a usable original image.
Should I use glossy or matte paper for a sharper look?
Glossy paper often makes contrast and fine detail appear more pronounced, while matte paper reduces reflections. Paper affects appearance, but the file remains the main factor in photo printing quality.
Prepare the File Before You Order
Sharp CVS photo printing starts with practical file preparation. Use the original image, choose a realistic photo print size, protect useful pixels while cropping, and review the preview before placing the order.
If the source is weak, enlarging it will not solve the problem. When a photograph needs restoration, scanning, or professional print preparation, working with a digital printing company can help identify the limitation before production. For careful photo and print work, visit Laguna Digital and start with the strongest master file available.